Google Drive is a great tool for sharing files, especially ones such as videos that are too large to send through an email. It also has the ability to add captions to those videos! The interface is similar to YouTube’s but there is no AI driven auto-captioning, so you’ll need to upload either a caption file (SRT or similar) or a transcript and let Drive attempt to match the transcript to the video. I would recommend generating the captioning file, personally.
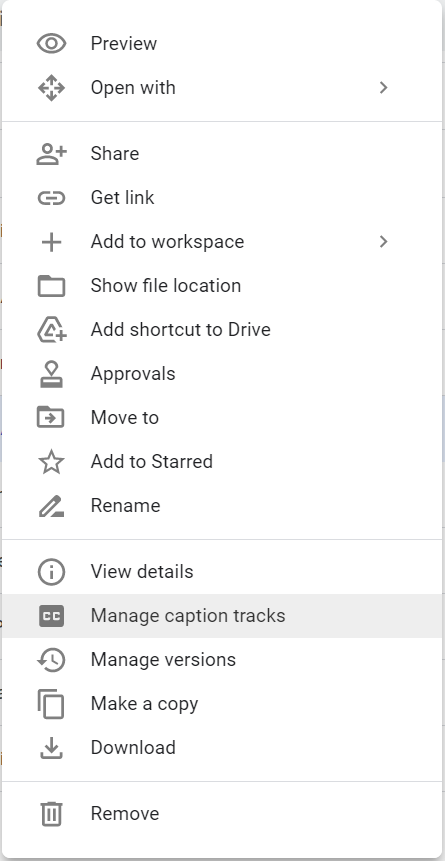
To add captions to a video in drive, open the context menu and select “Manage caption tracks.”
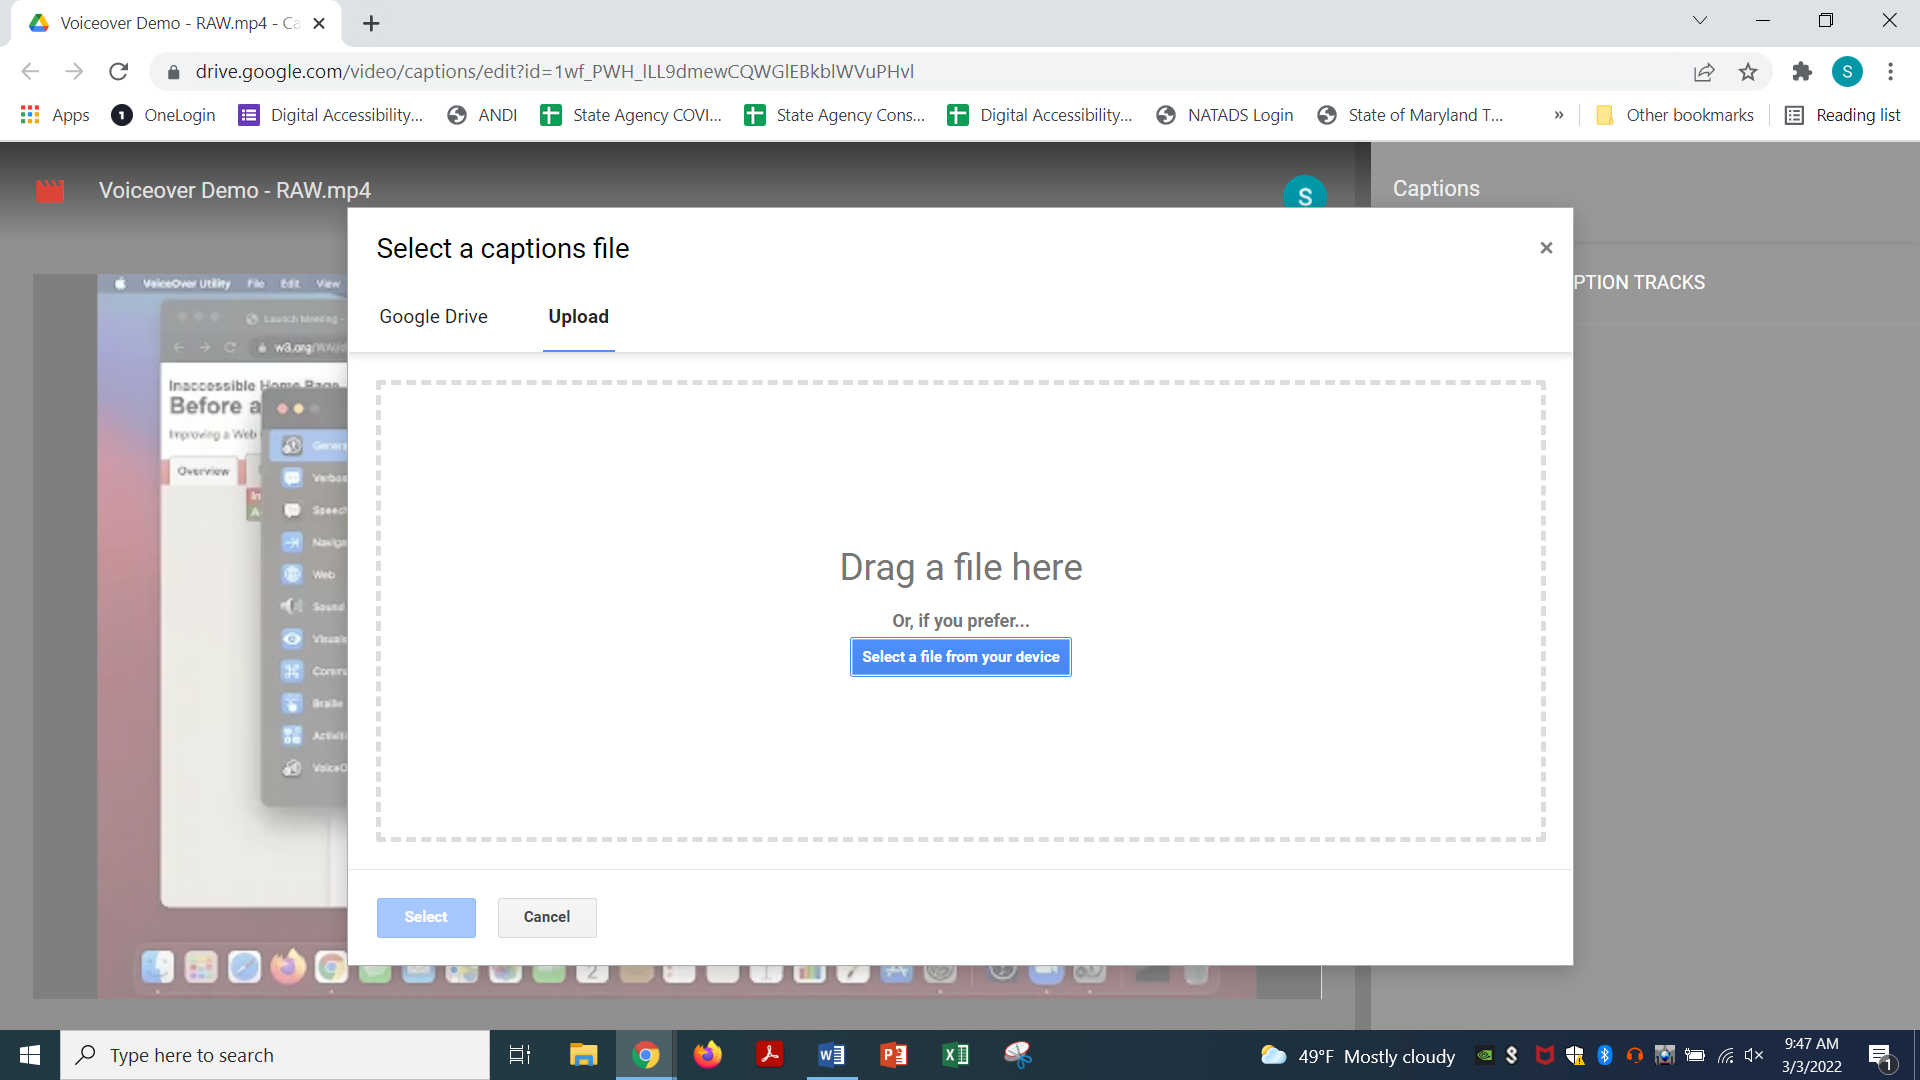
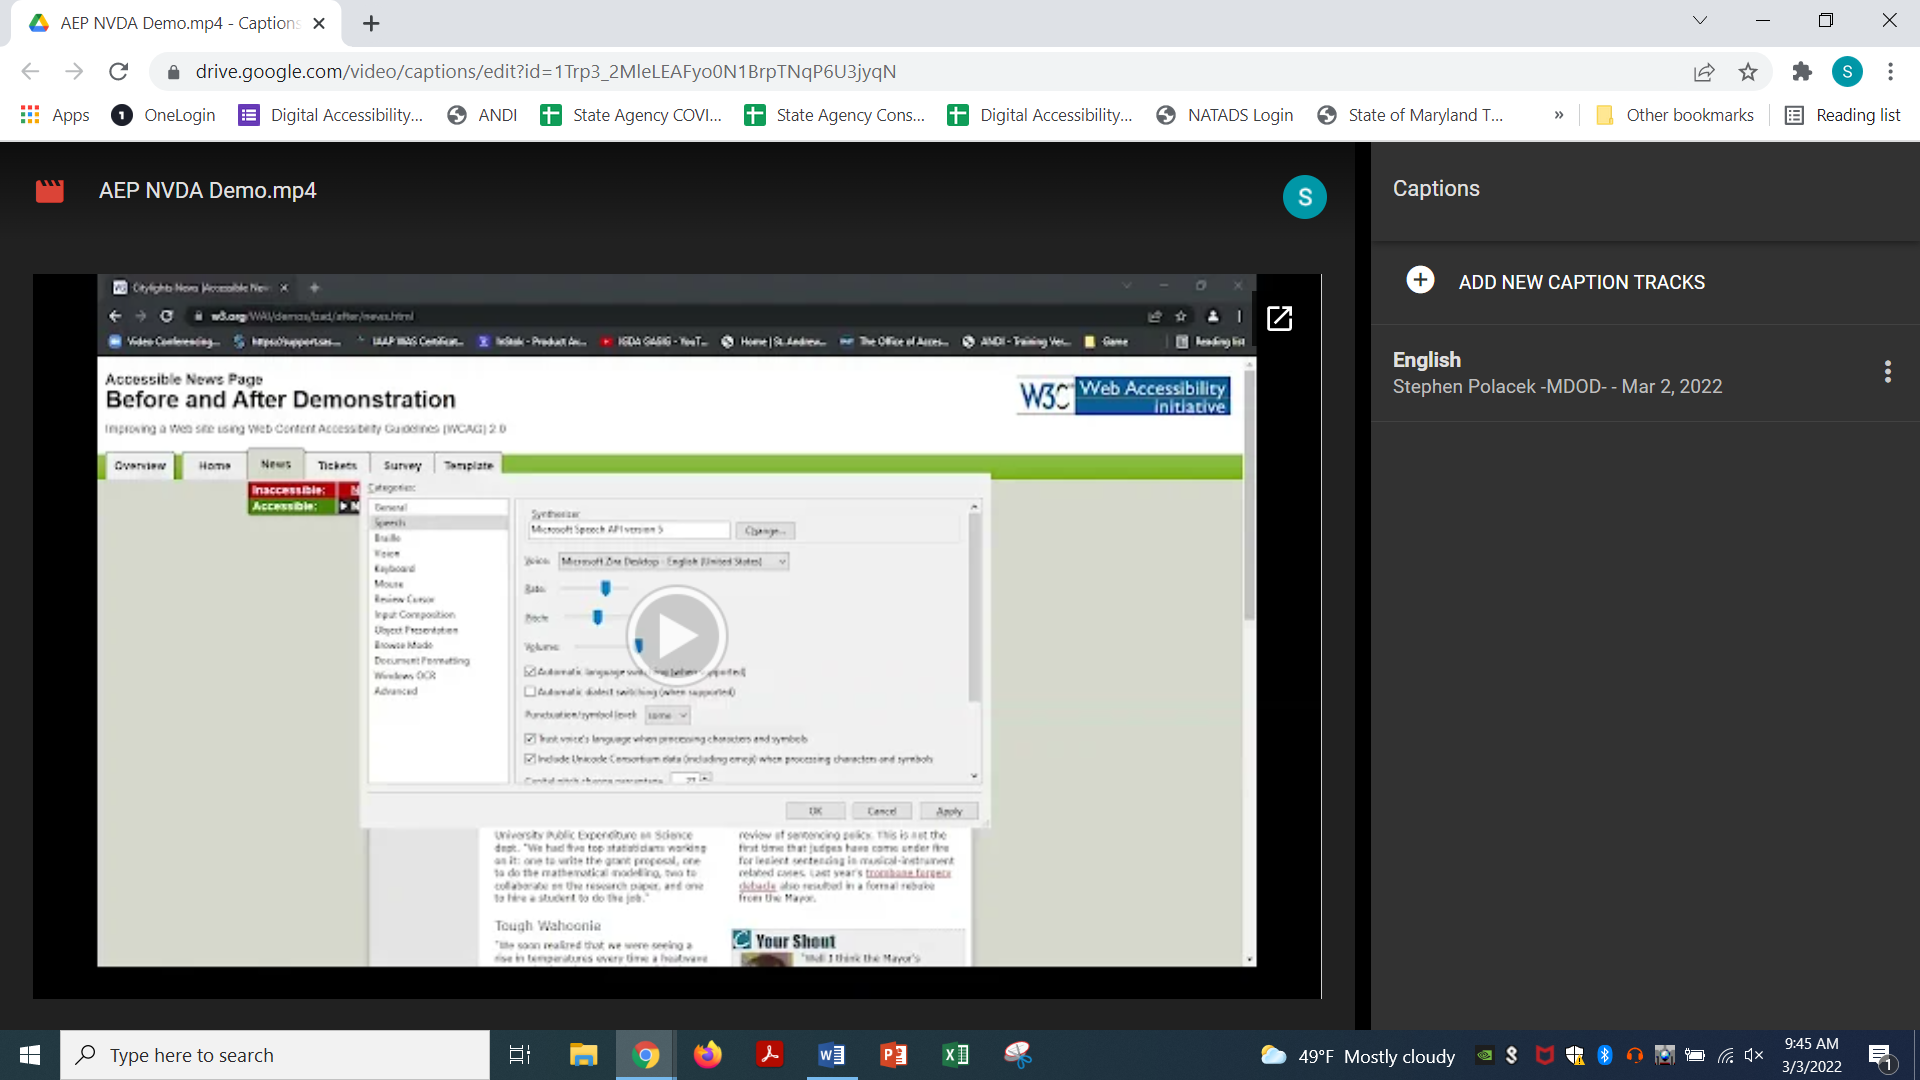
That will bring you to a new tab where you can add a caption track. When you activate the Add New Caption Tracks link, it’ll open a dialog where you can either select a file in Drive or upload a new one. Once uploaded, you’ll see the new track in the list below the link along with details such as the language, editor, and time added. You’re good to go now! Anyone who views that video can activate the CC button on the player and choose which track to use.
If you need a method to create the captioning file, I would recommend CADET (available here: https://www.wgbh.org/foundation/what-we-do/ncam/cadet). This free program available from the The National Center for Accessible Media at WGBH is a fairly easy to use tool that can create a variety of caption files or transcripts. It’ll take a little bit of setup and getting used to, but once you get the keyboard shortcuts memorized, video captioning will be done quickly.
For additional help with adding captions to videos in Drive, go to Google’s Help Center here: https://support.google.com/drive/answer/1372218?hl=en&co=GENIE.Platform%3DDesktop